Disclaimer: Included in this post are links to tours I have personally taken or booked for clients on Viator. If you book these tours thru the links in this post, as a travel agent, I will receive a small commission, at no additional cost to you.
Alaska is a bucket list location for many people. Full of wildlife, glaciers, mountains and national parks, it’s a once in a lifetime trip. The majority of people who visit Alaska do so via a cruise, most of which depart from Seattle, Washington or Vancouver, British Columbia and explore the towns along the coast of Southeast Alaska. But a cruise is definitely not the only way to see some of the largest state in the United States.
If you are like me and cruising just isn’t your thing, there are still ways to see this amazing state. And chances are if you are planning a land vacation to Alaska, you will fly into the largest and most well-known city in Alaska: Anchorage!
Anchorage is the largest city in Alaska and is home to 40% of the state’s population. To give a glimpse of the amount of Alaska residents that live in this part of the state, the area including Anchorage and the nearby Matanuska-Susitna accounts for over half the population of the 663,268 square mile state.
While most cities and towns in Alaska came about due to the fishing and mining in the area, the construction of the Alaska Railroad is what put Anchorage on the map. Some 2000 construction workers lived in 1000 tents in what is now Anchorage in 1915. They started calling the town Tent City. Later that year, they decided on a more official city name of Alaska City. Little did they know though that the U.S. Postal Service office in Seattle Washington had already decided on the name of Anchorage and five years later, the city of Anchorage was incorporated in November 1920.

Not only is Anchorage a great city to fly into for your trip to Alaska, but it also has plenty to offer in the city and surrounding area as well. If you are flying into Anchorage for your Alaska vacation, I highly recommend setting aside a few days to explore Anchorage.
Below are some of my top picks for a trip to Anchorage, starting with downtown and heading out to other parts of the municipality of Anchorage.
- Log Cabin Visitors Center – Downtown Anchorage makes for a great place to stay while in Anchorage. There are plenty of things to do while you are there. While a visitors’ center may not seem like an exciting place to visit on vacation, it should always be your first stop. Many places I’ve visited have lacked a good visitors center, but this one is pretty great and the log cabin building with a grass roof is just adorable. The staff inside are here to answer any and all questions you may have on Anchorage and the surrounding area and there is no shortage of brochures available. Just outside the visitors center you will also find this really neat bear sculpture.

- Anchorage Trolley Tour – Leaving from in front of the log cabin visitors center is the Anchorage Trolley Tour. This is a great way to get an overview of the city and learn a bit more about its history. They offer a one-hour trolley tour which does not include any stops. There is also a deluxe trolley tour which is an hour and a half long and includes stops at Lake Hood Seaplane Base, Ship Creek, Earthquake Park and Point Woronzof. More on each of these locations to follow. I took the deluxe tour and really enjoyed, it was definitely worth the extra money to be able to get off at the various stops and the tour guide I had definitely made it a very interesting tour!

- Delaney Park – Named for a former Mayor of Anchorage, Delaney Park is located in Downtown Anchorage. It’s just one block wide, but 13 blocks long. The park was originally built as a firebreak between Downtown Anchorage and the nearby forest. Other than a city park, it’s also served as an airstrip, golf course and temporary housing development. Now, it’s a multi-use park great for the entire family. In the park you can find baseball and soccer fields, tennis and volleyball courts, an ice rink in the winter, a rose garden and memorials for people like Martin Luther King Jr and the military. It’s a great spot to walk around or even go for a run.

- Downtown Anchorage Street Art and Totem Poles – Like most major cities, Anchorage is full of lots of fun street art to admire while walking thru the downtown area. One of the more popular murals is the Whaling Wall located on D Street. Along with the street art, there are also many totem poles through the city. Totem Poles are very popular in Canada and the Northwestern part of the United States, including the southeastern part of Alaska. They are said to serve as a monument to indigneous people’s heritage.


- Shopping in Downtown Anchorage – Like most cities around the world, there is no shortage of souvenir shops in Downtown Anchorage. Great place to pick up some souvenirs for family and friends at home and some souvenirs for yourself as a keepsake of your trip. The stores might seem pretty touristy, but there are also a lot of fun animal themed displays that can be found outside on the sidewalks near the stores. Great places for a safe photo with one of the animals native to Alaska.

- Food and Beer in Downtown Anchorage – There are numerous great restaurants and bars located right in Downtown Anchorage. Most coming to Alaska look forward to enjoying some fresh seafood, in particular the famous Alaskan Salmon. For a quick bite for breakfast, Dark Horse Coffee Company is a great independent coffee shop. If you are looking for a bigger breakfast, check out the Snow City Cafe, this popular brunch spot is open daily from 6:30am-3pm and serves breakfast all day. For lunch or dinner, Glacier Brewhouse is a must. They serve fresh Alaskan seafood, rotisserie meats and craft beer. I actually ate here on both trips I took to Alaska and talked with many people who live in Anchorage who also love this restaurant, so it’s a must. For a local craft brewery, check out 49th State Brewing located right downtown. Did you know that Alaska actually consumes the most ice cream per capita of all US states? Well, when you are in Anchorage, you must get ice cream at Wild Scoops. This local ice cream shop features homemade waffle cones and homemade ice cream. They have some inventive flavors made with local ingredients like syrup from local birch trees.


- Alaska Statehood Monument – Alaska became the 49th state in 1959. In 1990, this monument featuring Dwight D. Eisenhower who was president back in 1959 was built. The monument is located on the edge of downtown overlooking the Port of Anchorage and the Alaska Railroad, which helped to put Anchorage on the map.

- Ulu Factory – We are heading a bit out of downtown now. Down the hill from the statehood monument is the Ulu Factory. Ulu knives came about years and years ago when Eskimos in Alaska needed a knife that could be used to cut animals like seals, walrus and eventually salmon to prepare not just their meals but also clothing and boots. At the factory, in addition to purchasing ulu knives, you can also see them being made or watch a demonstration on how to sharpen them. They even offer a free shuttle from downtown.
- Salmon Fishing at Ship Creek – Did you know that a great spot in Anchorage to try and catch some salmon is just down the hill from the statehood monument? Ship Creek is located right next to the Ulu Factory and is a popular spot for salmon fishing. Even if you aren’t into fishing, it’s also fun to watch the fisherman from the viewing platform at Ship Creek.

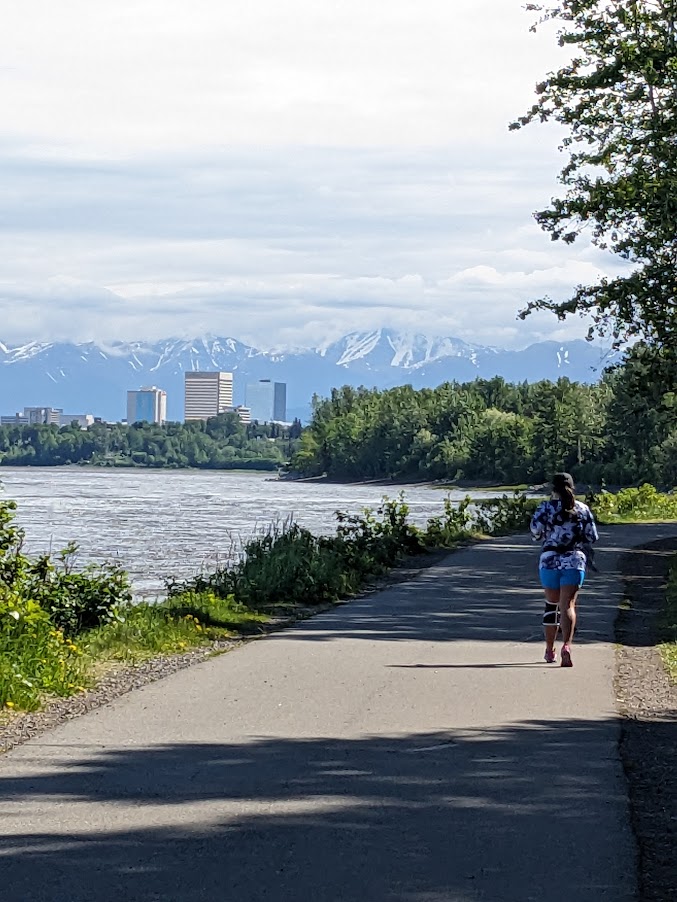
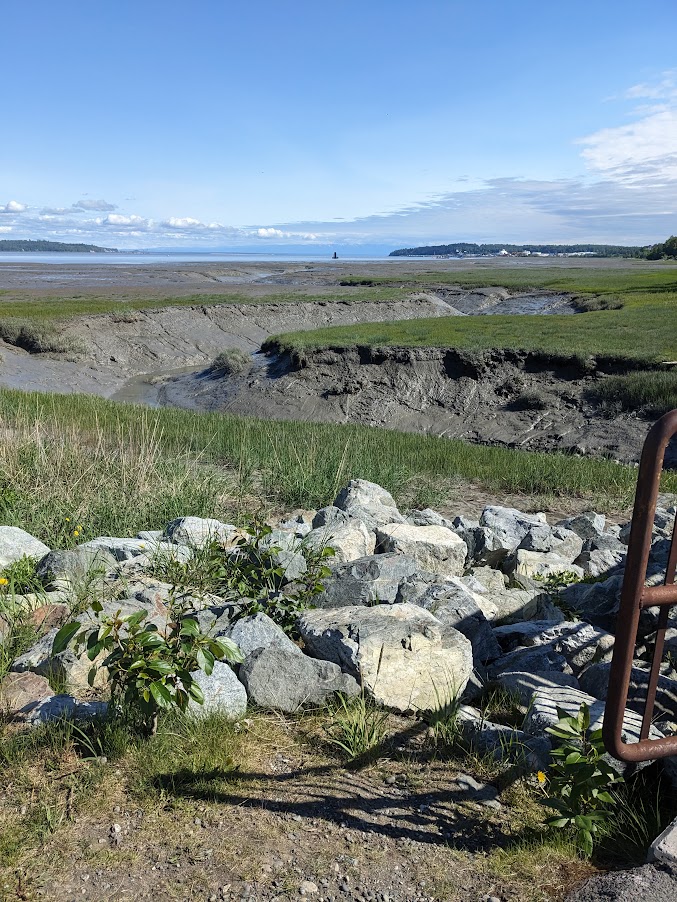
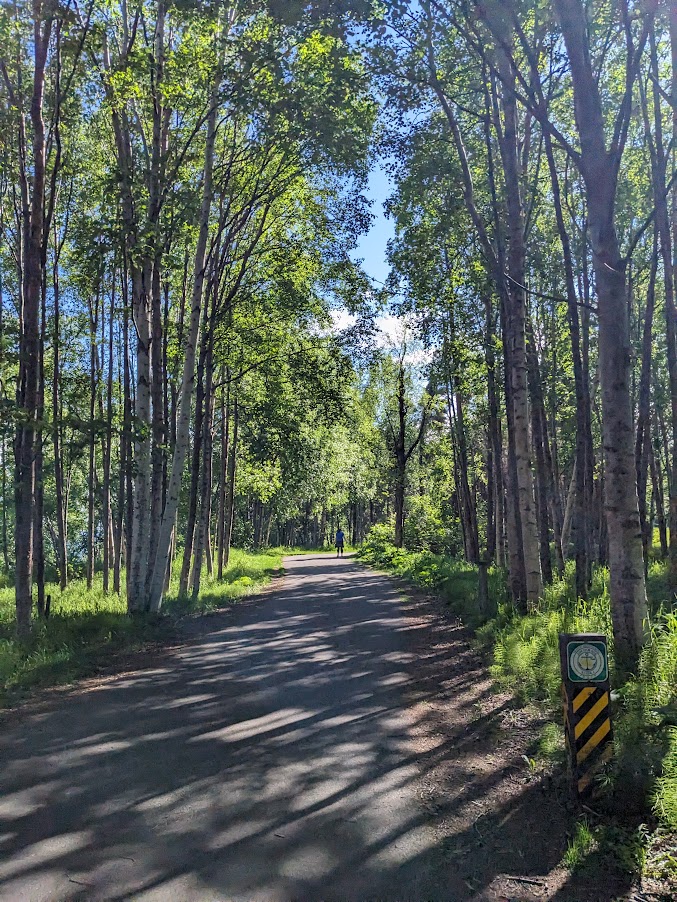
- Tony Knowles Coastal Trail – If you are looking to get active and see some great coastal views while doing so, you must go for a bike ride, walk or run along the Tony Knowles Coastal Trail. This 11-mile trail starts downtown and follows the coast of the Cook Inlet. The views are absolutely stunning on this trail. On a really clear day you may even be able to see Mt. McKinley, also known as Denali. Even if you are not able to see Denali, you will probably get a chance to see Mount Susitna just across the Cook Inlet, otherwise known as Sleeping Lady. This 4,396-foot-tall mountain got its nickname from the fact that it looks like the profile of a sleeping lady. At Point Woronzof, you can get a beautiful view of Downtown Anchorage from the coastal trail. During low tide, the many mud flats in Cook Inlet will emerge. It’s important to heed the signs stating the danger of these mud flats. The mud flats are basically quicksand and just about a month before I was in Anchorage, a young man had lost his life from walking on the mud flats. They tried to rescue him, but a rescue on mud flats is extremely difficult. Other things to be cautious of on the Tony Knowles Coastal Trail is wildlife. It’s not rare to spot a moose or bear on the trail, so it’s a good idea to carry bear spray and to be in a group while on the trail.
- Earthquake Park – Along the Tony Knowles Coastal Trail is Earthquake Park. In 1964, the most powerful earthquake in North America and second most powerful earthquake in the world struck Alaska. The 9.2 magnitude earthquake was centered in Prince William Sound, south of Anchorage and lasted almost 5 minutes. There was quite a bit of damage in Anchorage including a neighborhood of 75 houses that was at the location of Earthquake Park that ended up sliding into the ocean. Astonishingly, only 3 people from that neighborhood passed away as they all came together and formed a human chain to lift each other to safety as the homes slid into the ocean. What makes this more miraculous is that the earthquake occurred on Good Friday, so the majority of people were off work and home in their houses when this happened. The picture below does not do it justice, but you can see just how far the woods sank from the earthquake in this location.

- Lake Hood Seaplane Base – One of the more popular ways to get around in Alaska is by Seaplane. It’s not uncommon for kids to learn to fly a seaplane around the same time they learn to drive a car. So, it’s no surprise that the largest and busiest seaplane base in the world is located right here in Anchorage. Lake Hood Seaplane Base is located near the Anchorage airport and serves on average nearly 200 daily flights. At Lake Hood you can take a tourist flight to see the beauty of Alaska from above or you can even just take a walk and see the beautiful planes. Watching a seaplane take off is always a fun experience.


- Anchorage Brewery Tour – If you like beer, you must try a brewery tour with Big Swig Tours. They pick you up right in front of the Log Cabin Visitors Center downtown and you will visit three breweries in 4 hours. Make sure to eat a heavy lunch as there is a lot of beer involved in this tour. When I took the tour, the first stop was at King Street Brewing Company which has been brewing beer for 12 years. They started off in a very small space and have since grown into a much larger space. We were given a flight of samples and given a tour of the brewery with information on the brewing process. Next stop was Midnight Sun Brewing Co. which is Anchorage’s oldest brewery, it’s been in business since 1995! Here we were given a few beers and enjoyed a charcuterie board, which was definitely needed as we had quite a bit of beer at this point. Next we visited Turnagain Brewing which just so happens to be located in King Street Brewing Company’s original space. The brewery is owned by a former doctor who started as a homebrewer and then opened the brewery in 2018. It was very interesting to listen to how he uses his biology background in the brewing of beer while we were enjoying some of the breweries delicious beers. If you love beer, I highly recommend adding this half day brewery tour to your Anchorage Itinerary.

While there is plenty to see and do right in the Anchorage metro area, it’s also a good base for some great day trips. Below are some of the more popular day trips you should consider when visiting Anchorage:
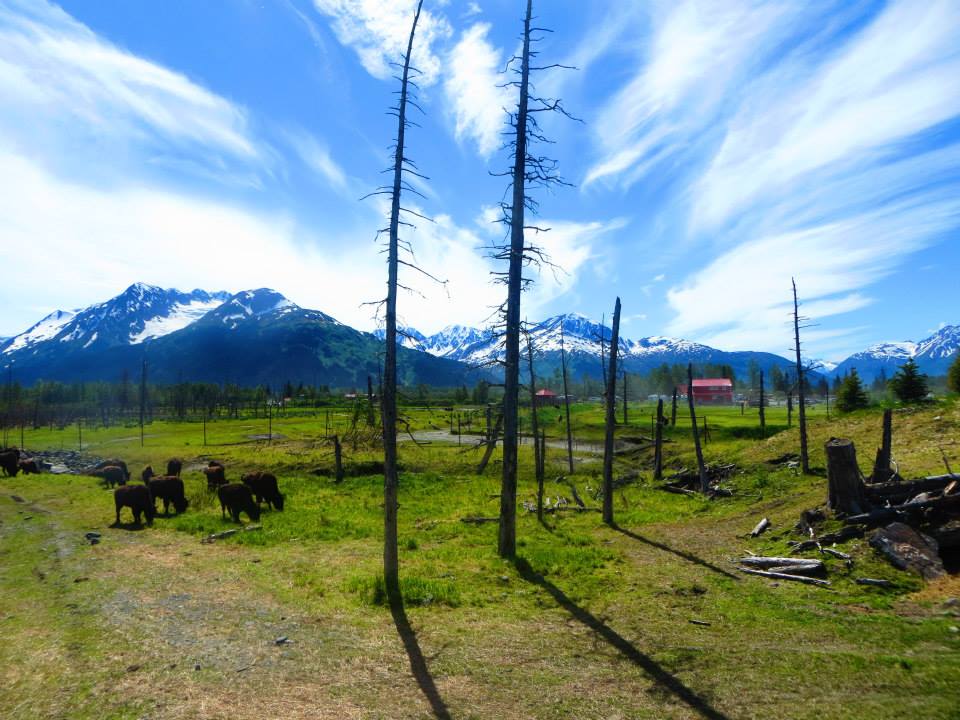
- Alaska Wildlife Conservation Center – If you would like to see some of the Alaska wildlife in a safe environment or are like me and want to make sure you see a bear before leaving Alaska, the Alaska Wildlife Conservation Center is a great place to do so. This non-profit sanctuary features brown beers, black beers, wood bison, moose, wolves, coyotes, elk, caribou and a bald eagle among other animals. The animals are in natural environments instead of cages like in zoos and the center is dedicated to preserving the wildlife of Alaska. The Alaska Wildlife Conservation Center is located about an hour south of Anchorage and it’s a beautiful drive along the Seward Highway. If you don’t have a car, 907 Tours offers a great half day wildlife tour to the conservation center.


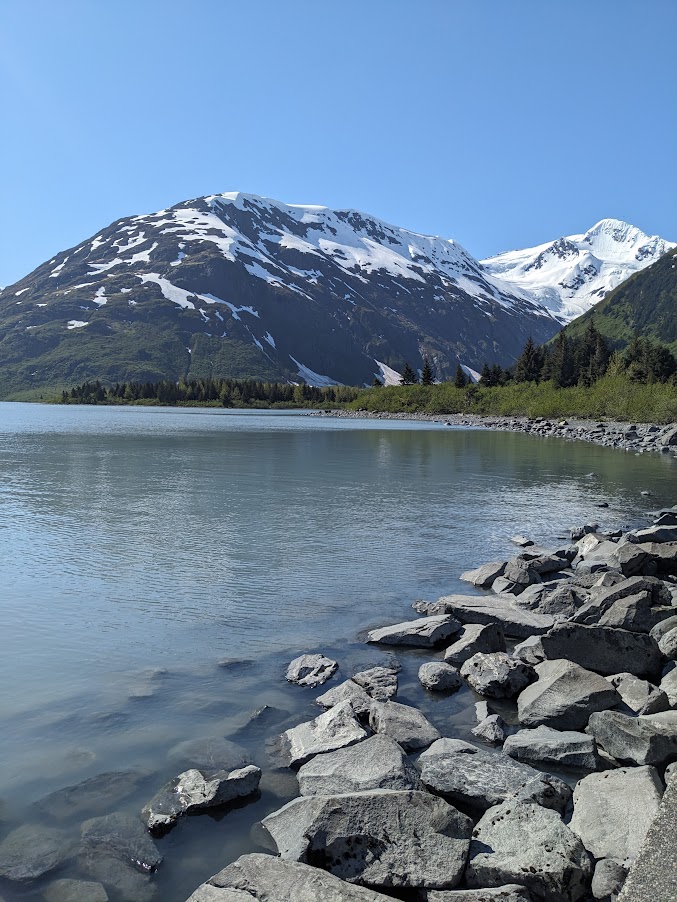
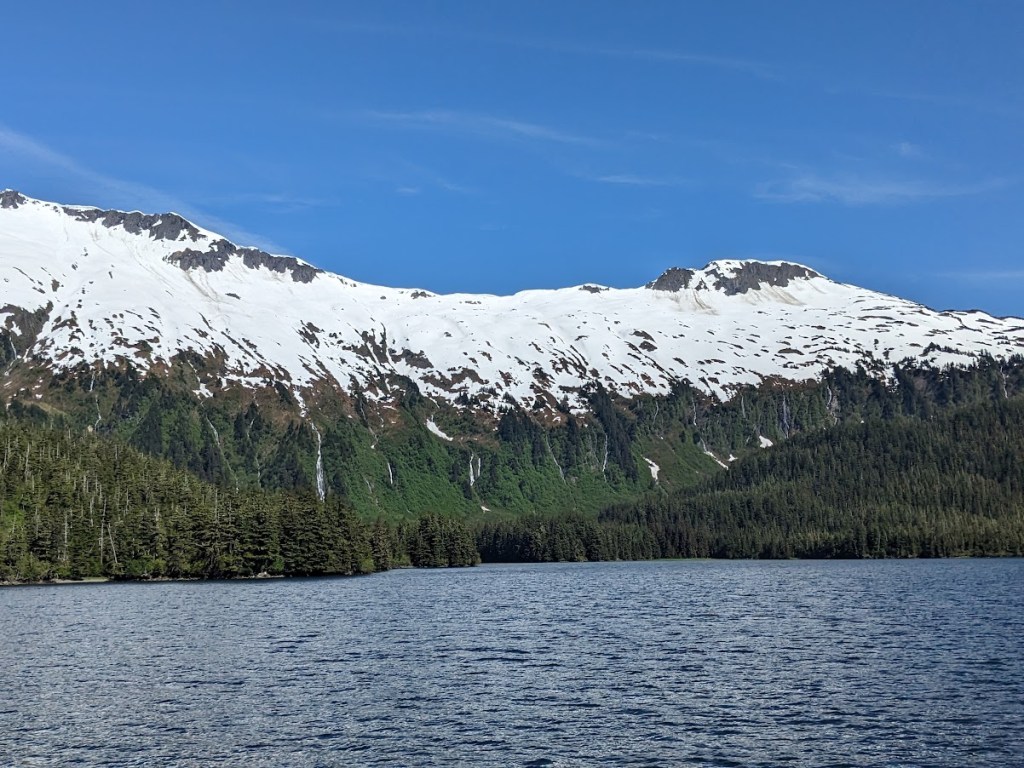
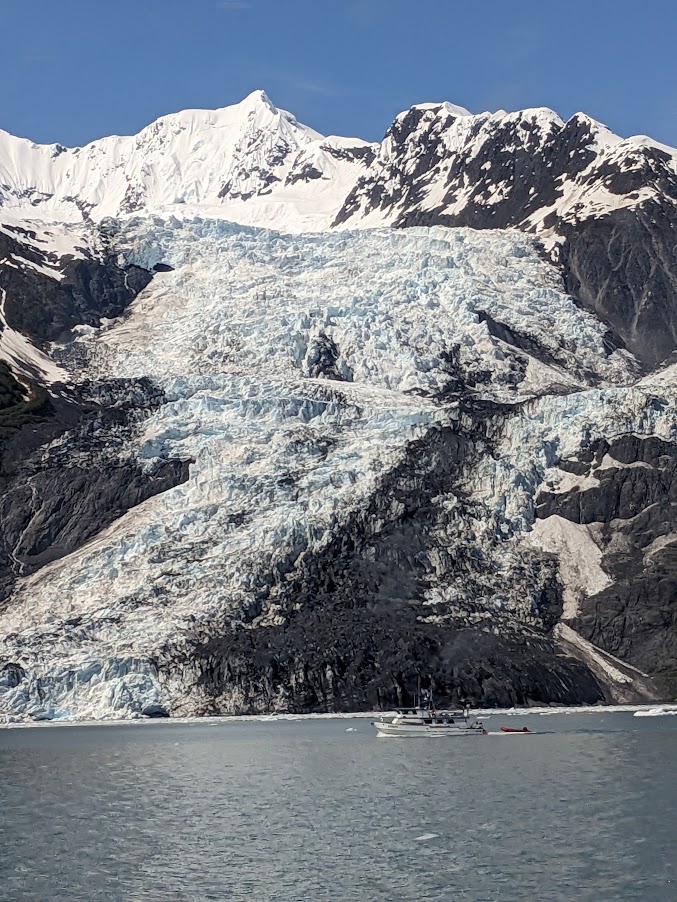
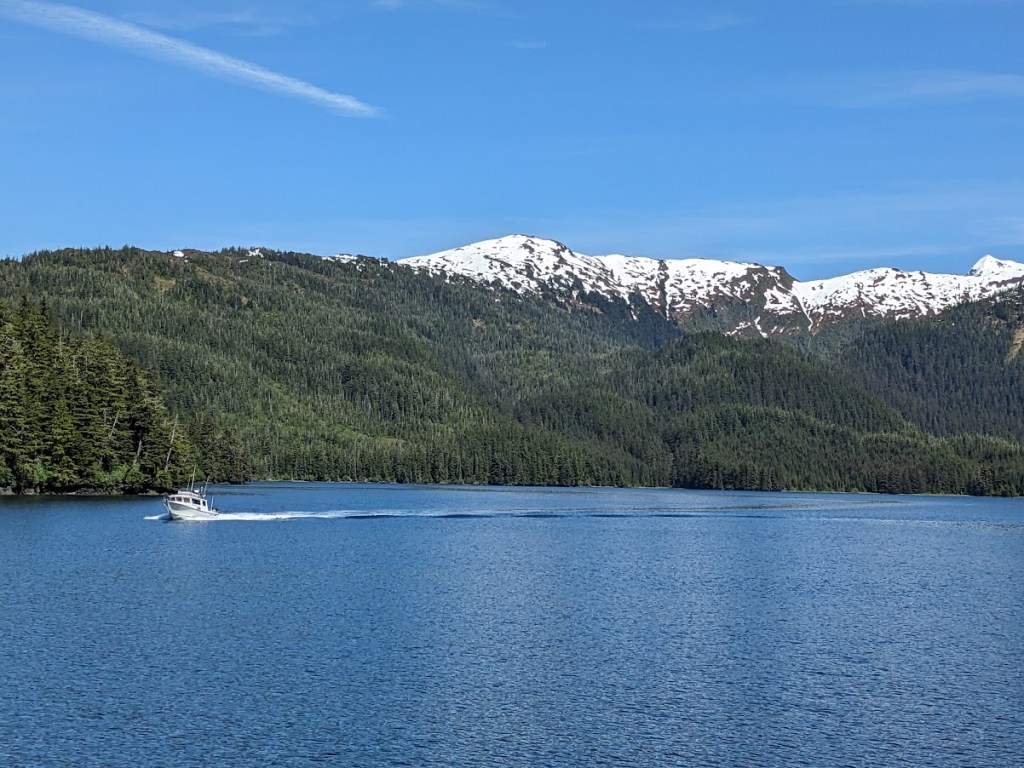
- Glacier Cruise– When visiting Alaska, seeing a glacier from the water is a must. The closest glacier cruise, about an hour and a half from Anchorage, is Portage Glacier. But if you want to see multiple glaciers, how about taking a 26 Glaciers Cruise. On this 5 1/2-hour long cruise with Phillips Cruises and Tours, you will cruise by 26 glaciers and stop at a few of them to get a closer look. Chances are good that you will see a glacier calving while on the cruise and this is quite the amazing experience. The cruise takes off out of Whittier Alaska, about 1 1/2 hours from Anchorage. Phillips Cruises and Tours also offers a coach tour from Anchorage. The coach tour includes a stop at Portage Lake and commentary and information on the area and the history of the Whittier Tunnel, which is the only way in and out of the town of Whittier.

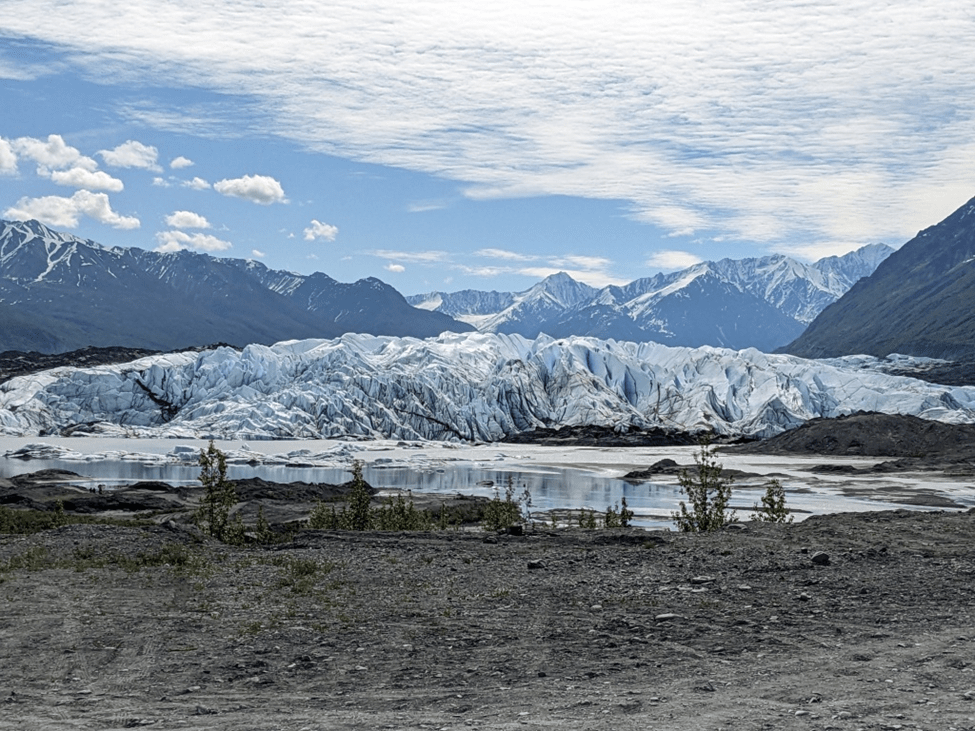
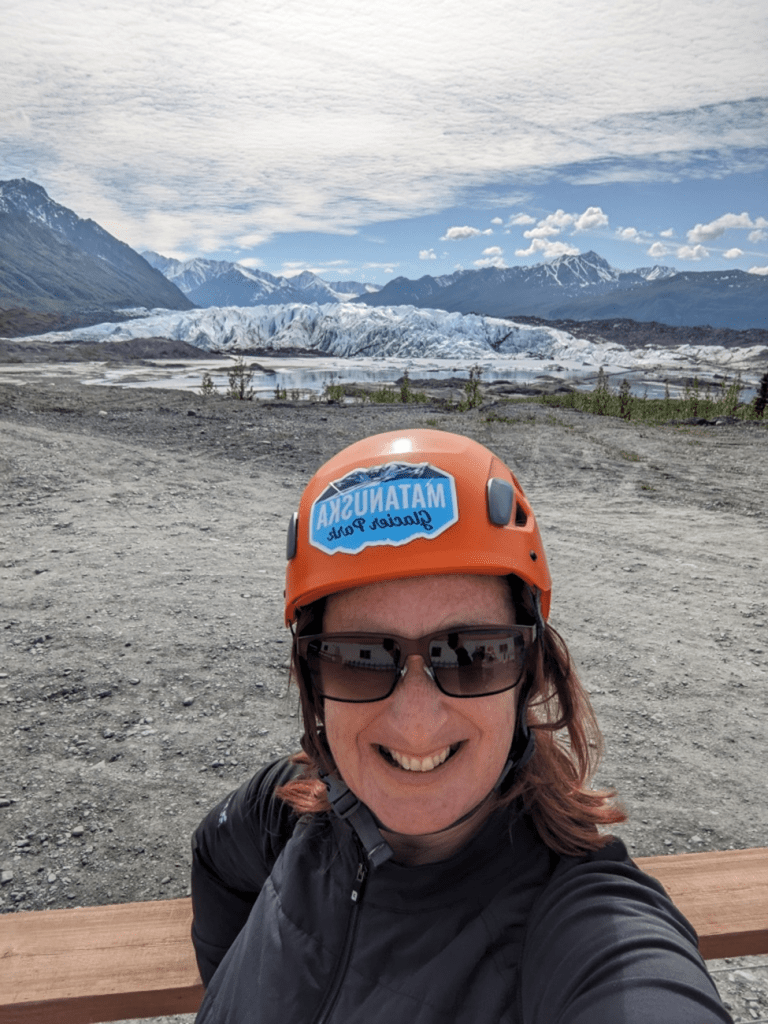
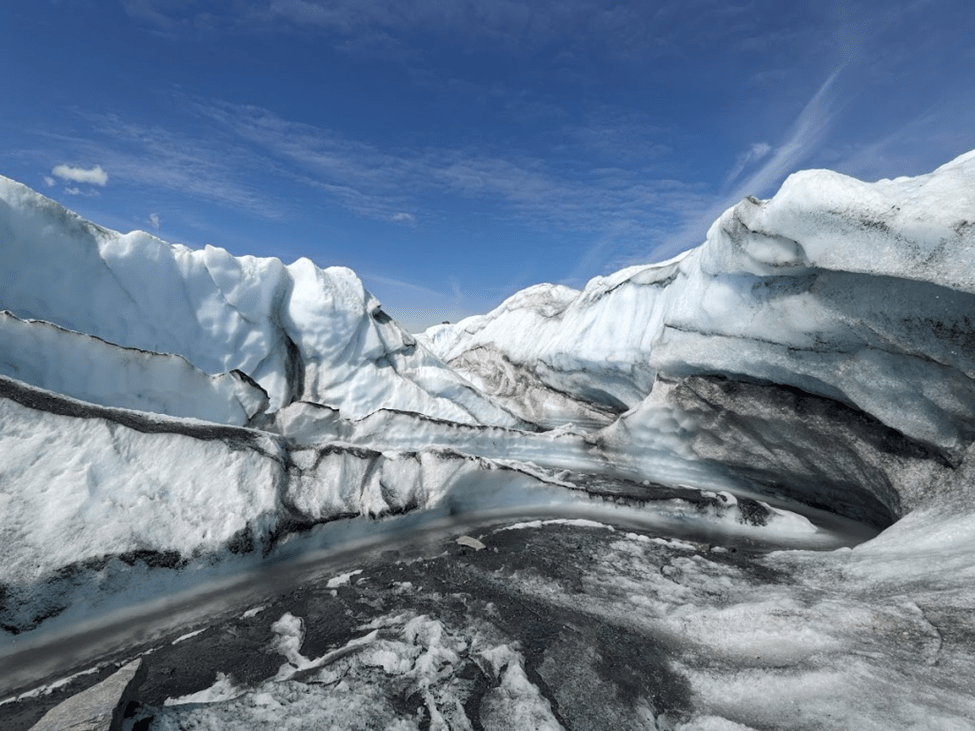
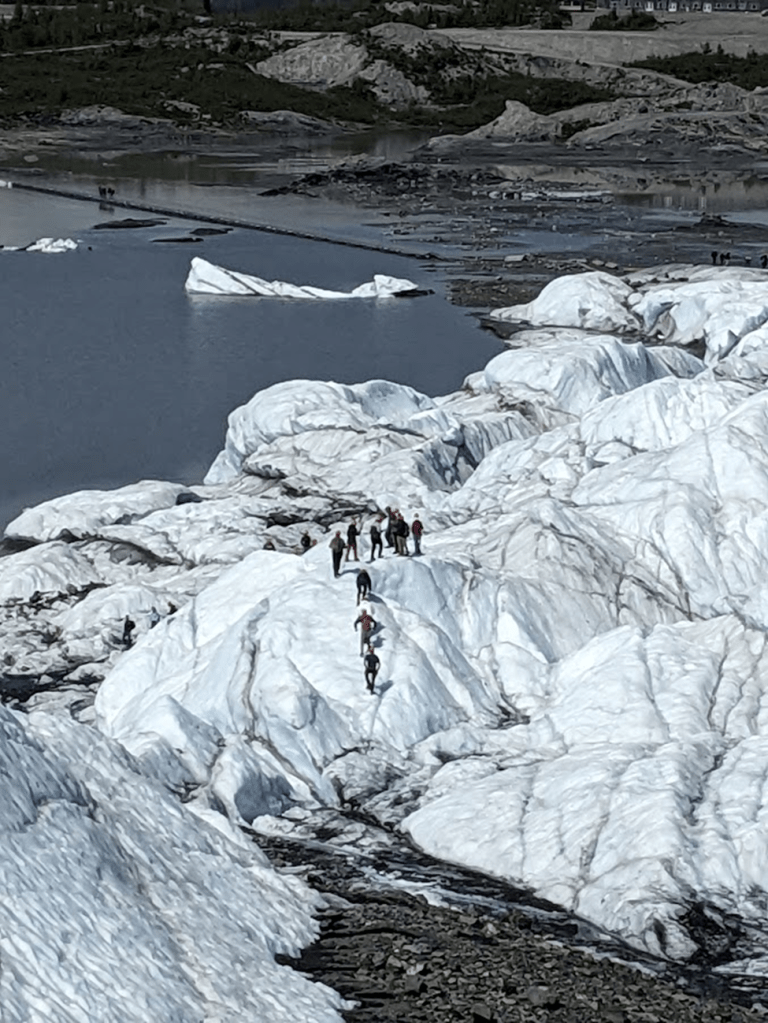
- Glacier Hiking – If you think you’ll enjoy seeing glaciers from the water, you will definitely enjoy hiking on a glacier. 907 Tours offers a great tour to Matanuska Glacier. After the 2-hour drive to Matanuska Glacier, you will embark on a 2-mile hike on the glacier. The guided hike takes about 2-3 hours and includes stops along the way and information about the glacier provided by the guide. This bucket list tour is a must when visiting Alaska.

From Anchorage you can extend your trip to other locations in Alaska such as Seward, Denali National Park and Fairbanks. There are many different ways to explore the state, whether by car, RV or the Alaska Railroad, it’s sure to be the adventure of the lifetime.
Alaska is a must visit state in the United States, whether you travel by cruise or land, it’s always a trip to remember. If you are wanting to explore it via land, Anchorage should definitely be your first stop. Beyond The Miles Travel would love to help put together a great itinerary for your Alaska vacation.
This article is now featured on GPSmyCity. To download this article for offline reading or create a self-guided walking tour to visit the attractions highlighted in this article, go to Walking Tours and Articles in Anchorage.
Pin for later: